flexsteel recliner repair manual
Flexsteel Recliner Repair Manual: A Comprehensive Guide
Navigating Flexsteel recliner issues? This manual offers detailed guidance, from troubleshooting power failures to upholstery fixes, ensuring longevity and comfort for your investment.
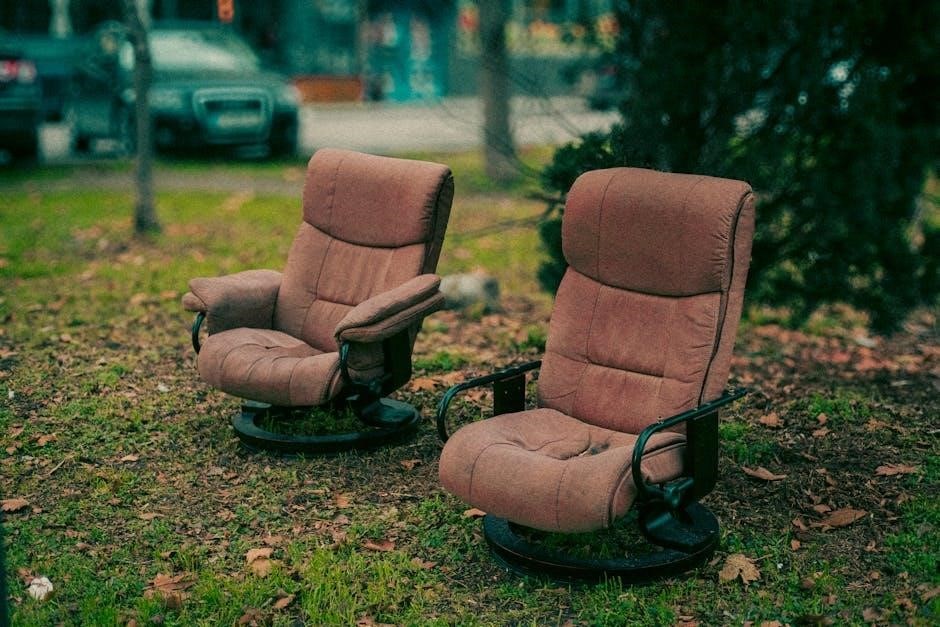
Understanding Flexsteel Recliner Construction
Flexsteel recliners are renowned for their durable construction, primarily utilizing a patented steel frame system. This framework, often hidden within the upholstery, provides exceptional support and contributes significantly to the recliner’s longevity. Understanding this core structure is vital for effective repair. The mechanism typically involves a series of cables, levers, and springs working in unison to facilitate reclining functions.
Seat cushions, often featuring varying foam densities like 1.8 lbs., are crucial for comfort and support. Upholstery, ranging from leather (which can substantially increase cost) to various fabrics, covers these components. Recognizing how these elements interact – the steel frame supporting the mechanism and cushioning, all encased by the upholstery – is the first step towards diagnosing and resolving any issues. Knowing this foundational design aids in targeted repairs.
Common Flexsteel Recliner Problems
Flexsteel recliners, while durable, aren’t immune to issues. Power recliners frequently experience problems with the power supply, remote controls, or internal transformers and wiring. Manual recliners often suffer from broken or frayed recliner cables, requiring replacement. Recliner tension can also loosen over time, hindering smooth operation. A common complaint involves the recliner handle itself becoming damaged or unresponsive.
Upholstery wear and tear, including stains and rips, are also prevalent. Seat cushions frequently lose their shape or become compressed, necessitating foam replacement or re-stuffing. Misuse, like excessive bouncing (even 55lbs can cause damage!), can lead to structural failures, often not covered under warranty. Identifying these typical problems streamlines the repair process.
Identifying Your Flexsteel Recliner Model
Accurate model identification is crucial for sourcing the correct parts and diagrams. Begin by locating the manufacturer’s label, typically found underneath the seat cushion, on the back of the recliner, or within the frame. This label contains the model number – for example, “9022-31” as seen with the Flex Sofa.
Record this number carefully. Flexsteel’s official website provides access to downloadable parts diagrams and manuals specifically tailored to each model. Knowing your recliner’s age can also be helpful, though often harder to determine. If the label is missing, detailed photos of the recliner’s style and features can aid in identification through online resources or by contacting Flexsteel directly.
Locating Flexsteel Recliner Parts Diagrams
Accessing detailed parts diagrams is essential for successful repairs. The primary resource is the official Flexsteel website; navigate to their product pages and search using your recliner’s model number. Many models offer downloadable diagrams illustrating component layouts and part numbers.
These diagrams are invaluable for visualizing the recliner’s internal mechanisms and identifying the specific parts needed for replacement. If you encounter difficulties finding diagrams online, consider contacting Flexsteel’s customer support directly. Additionally, furniture repair forums and online communities may host user-shared diagrams or offer assistance in locating them. Remember to always verify part compatibility with your specific model.
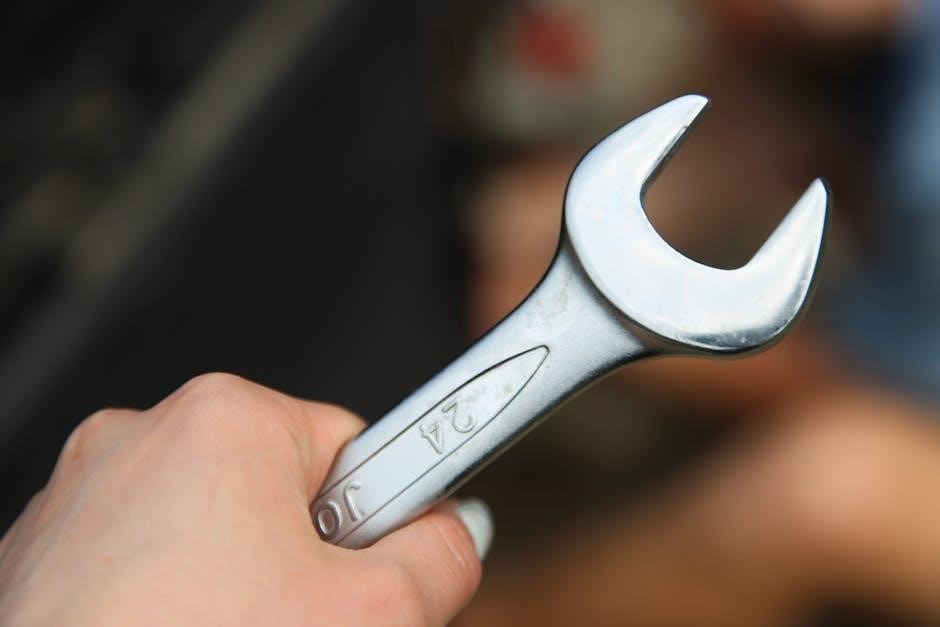
Essential Tools for Flexsteel Recliner Repair
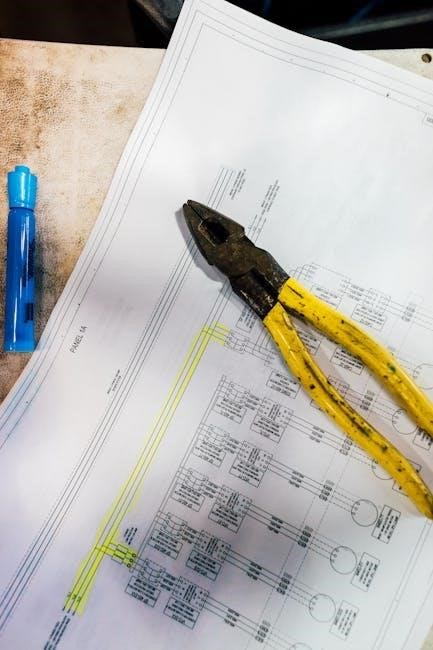
Having the right tools streamlines the repair process and ensures professional results. A basic toolkit should include screwdrivers (Phillips and flathead), pliers, an adjustable wrench, and a socket set. For electrical components, a multimeter is crucial for testing continuity and voltage. Upholstery repairs necessitate a staple remover, fabric scissors, and a sewing machine (for more extensive fixes).
Investing in quality tools will improve efficiency and prevent damage to your recliner. Remember safety first – wear appropriate eye protection and gloves when working with tools and electrical components. Proper preparation with these tools makes Flexsteel recliner maintenance manageable.
Basic Hand Tools
A solid foundation for any Flexsteel repair begins with essential hand tools. This includes a set of both Phillips head and flathead screwdrivers in various sizes, allowing access to different fasteners. Pliers – including needle-nose and slip-joint – are vital for gripping and manipulating components. An adjustable wrench provides versatility for nuts and bolts. Don’t forget a socket set, offering secure fastening and unfastening.
A rubber mallet can be useful for gently persuading parts into place without causing damage. These tools form the core of your repair arsenal, enabling most common fixes and adjustments.
Electrical Testing Tools
For power recliner diagnostics, electrical testing tools are indispensable. A non-contact voltage tester quickly confirms if power is reaching components, enhancing safety. A multimeter is crucial for measuring voltage, current, and resistance, pinpointing wiring faults or transformer issues. Continuity testers verify unbroken circuits, identifying broken wires or faulty connections.
Wire strippers and crimpers are needed for repairing or replacing wiring. Remember to always disconnect power before working with electrical components. Following the power supply, as suggested, requires these tools for accurate assessment.
Upholstery Repair Tools
Maintaining Flexsteel’s appearance necessitates specific upholstery tools. For leather care, a leather cleaner and conditioner are essential, preserving suppleness and preventing cracking. Fabric stain removers tackle spills, while a fabric protector shields against future damage. A sewing machine, heavy-duty thread, and upholstery needles are vital for repairing tears or replacing worn sections.
Additionally, a staple remover facilitates removing old upholstery, and a staple gun secures new fabric. Scissors, measuring tape, and a seam ripper aid in precise cutting and alterations. Proper tools ensure professional-looking upholstery repairs, extending the recliner’s lifespan.
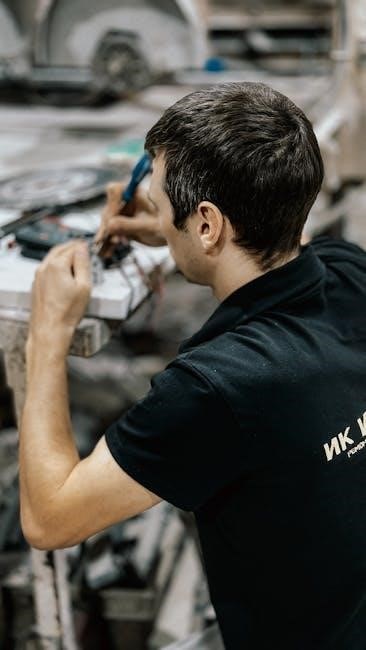
Power Recliner Troubleshooting
Addressing a non-functional power recliner begins with systematic checks. First, verify the power supply – ensure the outlet functions correctly with another device. Next, inspect the remote control; replace batteries or test its functionality with a universal remote. If the remote isn’t the issue, carefully examine the transformer and wiring for any visible damage, loose connections, or frayed wires.
Follow the power cord, tracing it from the outlet towards the recliner’s motor, identifying potential breaks in the circuit. A multimeter can help pinpoint electrical continuity issues. Remember safety first – disconnect power before inspecting wiring!
Checking the Power Supply
Begin power recliner diagnostics by confirming a functioning power source. Test the outlet with a known working lamp or device to rule out a tripped breaker or faulty receptacle. Inspect the power cord itself for any visible damage – cuts, fraying, or exposed wires. Ensure the cord is securely plugged into both the outlet and the recliner’s power input.
If using a power strip, verify it’s switched on and functioning correctly. A simple test is to bypass the power strip entirely and plug the recliner directly into the wall outlet. This isolates the strip as a potential source of the problem. Always prioritize electrical safety during these checks.
Remote Control Issues
Troubleshooting a non-responsive remote starts with the basics: replace the batteries with fresh ones, ensuring correct polarity. Next, check for obstructions between the remote and the recliner’s receiver, often located near the power button. Try resetting the remote by removing and reinserting the batteries. If multiple remotes exist, test each one to isolate the problem.
Sometimes, the receiver itself can malfunction. A visual inspection for damage is worthwhile. Consider if any recent electronic interference might be affecting the signal. Following the power until it stops can help determine if the issue lies beyond the remote.
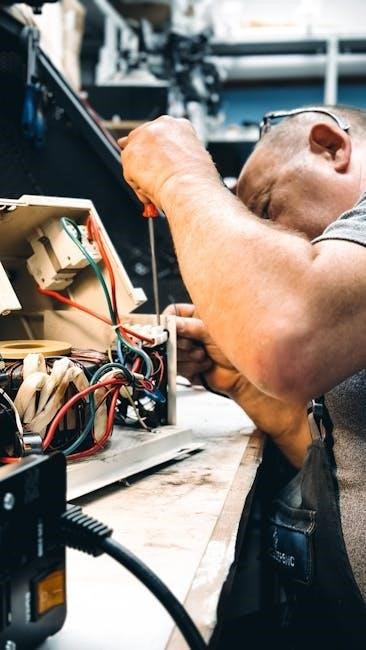
Transformer and Wiring Inspection
Carefully inspect the transformer for any signs of burning or damage; a faulty transformer is a common cause of power recliner failure. Disconnect power before proceeding! Examine all wiring connections, looking for loose wires, frayed insulation, or corrosion. Use a multimeter to test the transformer’s output voltage, comparing it to the specification on the device.
Trace the wiring from the power supply to the motor, checking for breaks or shorts. Ensure all connections are secure. If you find damaged wiring, replace it with wire of the same gauge. Remember safety first – if unsure, consult a qualified electrician.
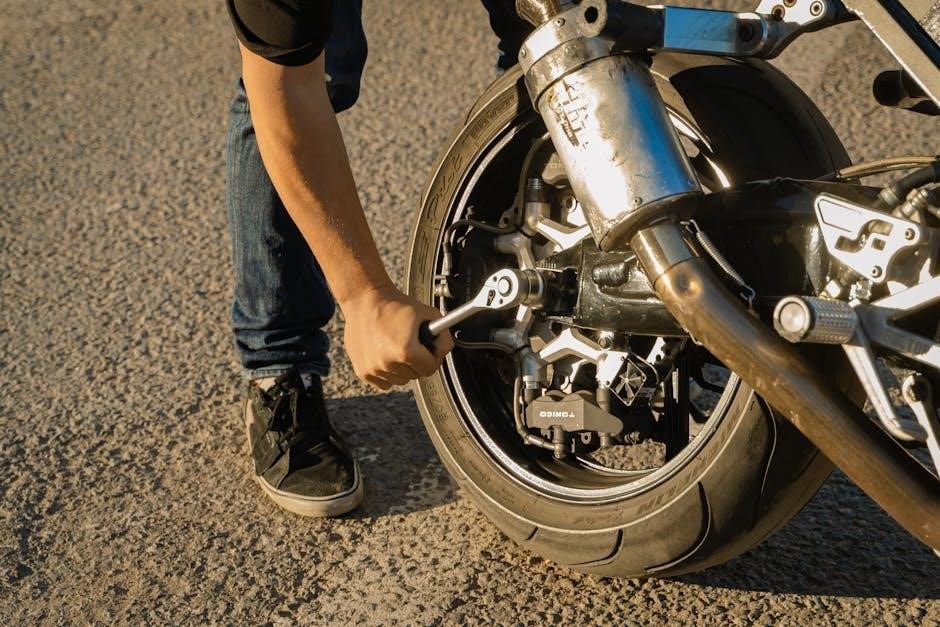
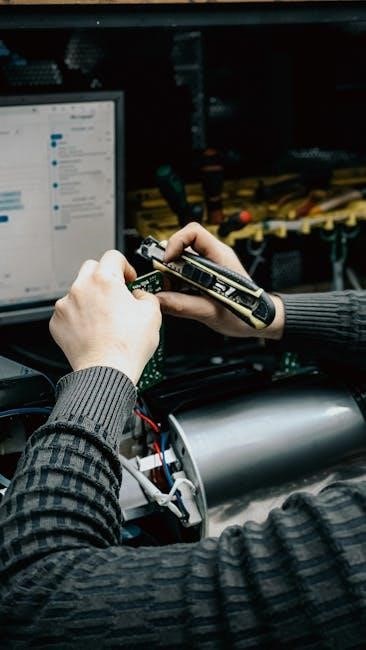
Manual Recliner Mechanism Repair
Addressing manual recliner issues often involves the internal mechanism. Replacing recliner cables is a frequent repair; ensure the new cable matches the original in length and gauge. Adjusting recliner tension can restore smooth operation – locate the tension adjustment bolt and tighten or loosen as needed. A broken or stiff recliner handle can usually be replaced by removing the retaining pin and sliding in a new one.
Lubricate all moving parts with silicone spray to reduce friction. Inspect the frame for bends or cracks, as structural damage can affect the mechanism’s function. Prioritize safety during disassembly and reassembly.
Replacing Recliner Cables
Recliner cable replacement begins with careful disassembly, noting cable routing for accurate reinstallation. Disconnect the old cable from both ends – the handle and the recliner frame. Measure the old cable’s length precisely before ordering a replacement; an incorrect length hinders proper function. When installing the new cable, thread it through all guides and secure it firmly at each connection point.
Ensure the cable moves freely without binding. Test the recliner mechanism repeatedly to confirm smooth operation. If resistance is felt, recheck the cable routing and connections; Lubricate the cable with silicone spray for optimal performance.
Adjusting Recliner Tension
Recliner tension adjustment is crucial for comfortable operation. Locate the tension adjustment knob, typically found beneath the recliner or near the cable attachment points. Turning the knob clockwise increases tension, making the recline more controlled, while counterclockwise decreases it for easier movement.
Adjust in small increments, testing the recliner after each adjustment. Avoid over-tightening, which can strain the mechanism. If the recliner drifts open or closed, fine-tune the tension until it holds the desired position. Regularly check and readjust as needed, as cables can stretch over time.
Repairing the Recliner Handle
A broken or stiff recliner handle often indicates a disconnected or damaged linkage. Begin by carefully removing the handle, noting its orientation and attachment method. Inspect the linkage for bends, breaks, or disconnections. Reconnect any loose linkages, ensuring they snap securely into place.
If the handle itself is damaged, replacement is usually necessary. Flexsteel parts diagrams can help identify the correct handle for your model. Lubricate the linkage with silicone spray to ensure smooth operation. Reattach the handle, verifying proper function before fully reassembling the recliner.
Upholstery Repair and Maintenance
Protecting your Flexsteel’s upholstery is crucial for maintaining its appearance and value. For leather, regular conditioning prevents cracking and fading; use a leather cleaner and conditioner specifically designed for furniture. Fabric upholstery requires vacuuming to remove dust and debris, followed by spot cleaning with a mild upholstery cleaner.
Address stains promptly to prevent them from setting. For significant wear or tears, consider professional upholstery repair or replacement. Replacing worn upholstery can revitalize the recliner, extending its lifespan and restoring its aesthetic appeal. Consistent care preserves the beauty and comfort of your Flexsteel.
Leather Care and Cleaning
Maintaining leather upholstery requires a gentle approach. Dust regularly with a soft cloth to prevent buildup. Clean spills immediately with a damp cloth – avoid harsh chemicals or abrasive cleaners. Utilize a dedicated leather cleaner every six to twelve months to remove dirt and restore oils.
Conditioning is vital; apply a leather conditioner after cleaning to keep the leather supple and prevent cracking. Avoid direct sunlight, which can fade the color. For stubborn stains, consult a professional leather cleaner. Proper leather care preserves the luxurious feel and extends the life of your Flexsteel recliner’s leather.
Fabric Cleaning and Stain Removal
Cleaning fabric upholstery demands careful attention to the fabric type. Begin by vacuuming to remove loose dirt and debris. For most fabrics, a mild soap and water solution works effectively; test in an inconspicuous area first. Gently blot stains, avoiding rubbing, which can spread the discoloration.
Specific stain removal may require specialized cleaners – consult the fabric’s care label. Avoid excessive moisture, as it can lead to mildew. For tougher stains or delicate fabrics, professional cleaning is recommended. Regular cleaning and prompt stain removal maintain the appearance and longevity of your Flexsteel recliner’s fabric.
Replacing Worn Upholstery
Revitalizing a Flexsteel recliner with new upholstery is a significant undertaking, best suited for those with upholstery experience. Begin by carefully removing the old fabric, noting the original attachment method – staples, tacks, or adhesive. Use this as a guide for re-attachment.
Cut the new fabric to size, allowing extra for seams and adjustments. Stretch the fabric evenly over the frame, securing it with appropriate tools. Pay close attention to corners and curves for a professional finish. Consider professional upholstery services if you lack experience, ensuring a durable and aesthetically pleasing result.
Seat Cushion Replacement and Repair
Addressing sagging or flattened seat cushions is crucial for restoring comfort. Flexsteel utilizes varying foam densities; a common density is 1.8 lbs. for models like the Flex Sofa (9022-31). Replacement options include purchasing pre-made cushions or replacing the foam insert.
When re-stuffing, ensure the new foam fits snugly within the cushion cover. Consider adding a layer of batting for enhanced softness and shape retention. Properly securing the cushion cover is vital for a neat appearance and long-lasting repair. Prioritize quality materials for optimal support and durability.
Understanding Seat Cushion Density (e.g., 1.8 lbs.)
Seat cushion density, measured in pounds per cubic foot, directly impacts support and longevity. Lower densities (e.g., 1.5 lbs) offer initial softness but compress quickly, requiring frequent replacement. Higher densities, like the 1.8 lbs found in some Flexsteel models (Flex Sofa 9022-31), provide firmer, more durable support.
Density affects how well a cushion bounces back after use. Choosing the correct density is vital; a higher density is preferable for heavier users or those seeking long-term support. Consider the original density when replacing foam to maintain the recliner’s intended comfort level.
Foam Replacement Options
When replacing Flexsteel seat foam, several options exist. Conventional polyurethane foam is cost-effective and widely available, offered in various densities. High-density foam (above 2.0 lbs) provides superior support and durability, ideal for frequent use. Memory foam conforms to the body, offering pressure relief but may retain heat.
Consider convoluted (wavy) foam for increased airflow and comfort. Down-wrapped foam combines the support of foam with the plushness of down. Ensure the replacement foam matches the original cushion’s dimensions and density for optimal fit and performance. Local upholstery suppliers or online retailers offer custom foam cutting services.
Re-stuffing Seat Cushions
Re-stuffing involves replenishing lost cushion fill, often a mix of foam, fiber, and batting. Begin by carefully removing the existing fabric cover. Assess the condition of the original foam – if significantly degraded, replacement is preferable. If usable, supplement with polyester fiberfill to restore plumpness. Layer the fiberfill evenly, focusing on areas needing more support.
Consider adding a layer of batting for a smoother surface. Ensure the re-stuffed cushion fits snugly within the cover, avoiding overstuffing which can strain seams; Secure the cover using staples or a zipper, and test for comfort and support. Proper re-stuffing extends cushion life and restores seating quality.
Flexsteel Warranty Information and Limitations
Flexsteel offers a limited lifetime warranty on the frame of its recliners, covering structural defects under normal residential use. However, the warranty doesn’t cover damage from misuse, such as bouncing, or normal wear and tear. Upholstery, foam, and reclining mechanisms typically have shorter warranty periods, often one to five years.
Claims require proof of purchase and may involve inspection fees if the issue isn’t warranty-related. The warranty doesn’t cover freight costs for repairs or replacements. Understanding these limitations is crucial; issues stemming from improper use aren’t typically covered, as highlighted by past customer experiences.
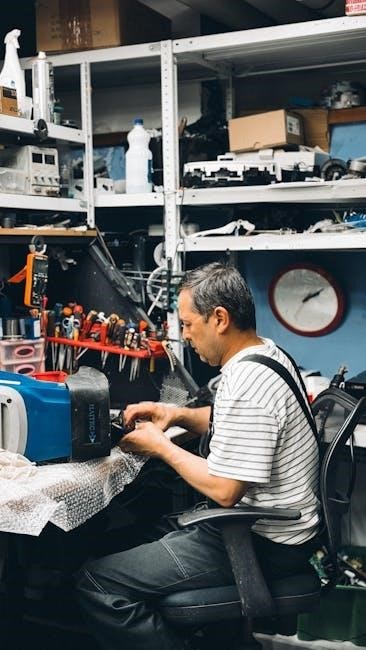
Finding Flexsteel Recliner Repair Services
Locating qualified repair technicians for your Flexsteel recliner can involve several avenues. Start by contacting Flexsteel directly; they may offer a list of authorized service providers in your area. Alternatively, explore local furniture repair shops specializing in recliners and upholstery. Online platforms connecting consumers with skilled repair professionals are also valuable resources.
When selecting a service, verify their experience with Flexsteel mechanisms and upholstery. Request quotes from multiple technicians, detailing the scope of work and associated costs. Remember that complex repairs might necessitate specialized expertise, potentially increasing the overall expense.
Cost of Common Flexsteel Recliner Repairs
Repair expenses vary significantly depending on the issue’s complexity. Simple fixes, like replacing a recliner cable, might range from $50 to $150, including parts and labor. More substantial repairs, such as transformer replacement in power recliners, could cost $100 to $300. Upholstery repairs, including patching or replacing worn fabric/leather, can range from $200 to $800+, depending on the material and extent of damage.
Seat cushion replacement, utilizing 1.8 lbs. density foam, typically falls between $80 and $200 per cushion. Remember these are estimates; obtaining quotes from local repair services is crucial for accurate pricing.
Preventative Maintenance for Flexsteel Recliners
Regular care extends your recliner’s lifespan. Vacuum frequently to remove dust and debris, preventing wear on upholstery and mechanisms. Condition leather regularly (every 6-12 months) to maintain suppleness and prevent cracking. For fabric recliners, address spills immediately to avoid staining. Periodically inspect cables and connections for looseness or damage, tightening or replacing as needed.
Avoid excessive force when operating the recliner, and discourage bouncing or jumping on it – a common cause of frame and mechanism failure. Following these simple steps minimizes the risk of costly repairs.
The Impact of Usage on Recliner Lifespan
Recliner longevity is directly tied to usage patterns. Daily, heavy use naturally accelerates wear and tear on mechanisms, upholstery, and cushioning. A 12-year lifespan, even with a daughter bouncing on it, demonstrates reasonable durability, especially considering the price point. Misuse, like excessive jumping, voids warranty expectations – similar to damaging a car through reckless driving.
Higher quality materials and construction contribute to longer life, but even Flexsteel’s reputation has reportedly diminished in recent years. Moderate, careful use significantly extends the functional life of any recliner.
Flexsteel Quality: Historical Perspective vs. Current Standards
Flexsteel once held a stellar reputation for durability, but perceptions have shifted. Industry expert Jeff Frank, of “The Insiders Guide to Furniture” (TIGtF), suggests promised improvements haven’t fully materialized. While still a “good product,” current standards may not match past quality levels.
Factors like foam density – the Flex Sofa (9022-31) uses 1.8 lbs. density foam – indicate potential compromises. Historically, higher density foams and robust construction were hallmarks. Understanding this evolution is crucial when assessing repair needs and expectations for long-term performance.
Resources for Flexsteel Recliner Owners (e.g., The Insiders Guide to Furniture)
For in-depth industry insights, explore Jeff Frank’s “The Insiders Guide to Furniture” (TIGtF). His blog offers a critical review of Flexsteel’s recent quality changes, providing valuable context for owners. Official Flexsteel product pages are essential for locating downloadable parts diagrams and repair manuals specific to your model.
Remember that direct communication with Flexsteel regarding specific issues, like foam densities, may yield results, though response times can vary. Online furniture forums and communities can also offer peer-to-peer support and shared repair experiences.